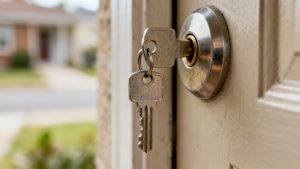
Your standard brass front door deadbolt key sits fully seated in its lock, no gap visible between its head and the lock face. You’ve wiggled it gently side to side, no give. There’s no visible debris blocking the keyway, and you confirmed you grabbed the right key off the Spare Key Hook by the entry table earlier. You don’t want to force it and risk snapping the key off inside the mechanism.
Brass Deadbolt Key Initial Troubleshooting
Before you attempt any more involved fixes, start with the lowest-effort, lowest-risk adjustments that resolve most stuck key issues in under a minute. First, check that the door is fully pressed against the frame, as a misaligned door or a door that was not shut all the way can put immense outward pressure on the deadbolt bolt, locking the cylinder in place so even a correctly inserted key cannot turn. Press your hip or shoulder firmly against the door, pushing it as flush to the frame as possible, while applying light, steady turning pressure to the key head, using no more force than you would to twist open a full water bottle. If the pressure on the deadbolt was the issue, the key will turn smoothly as soon as the door is aligned correctly.
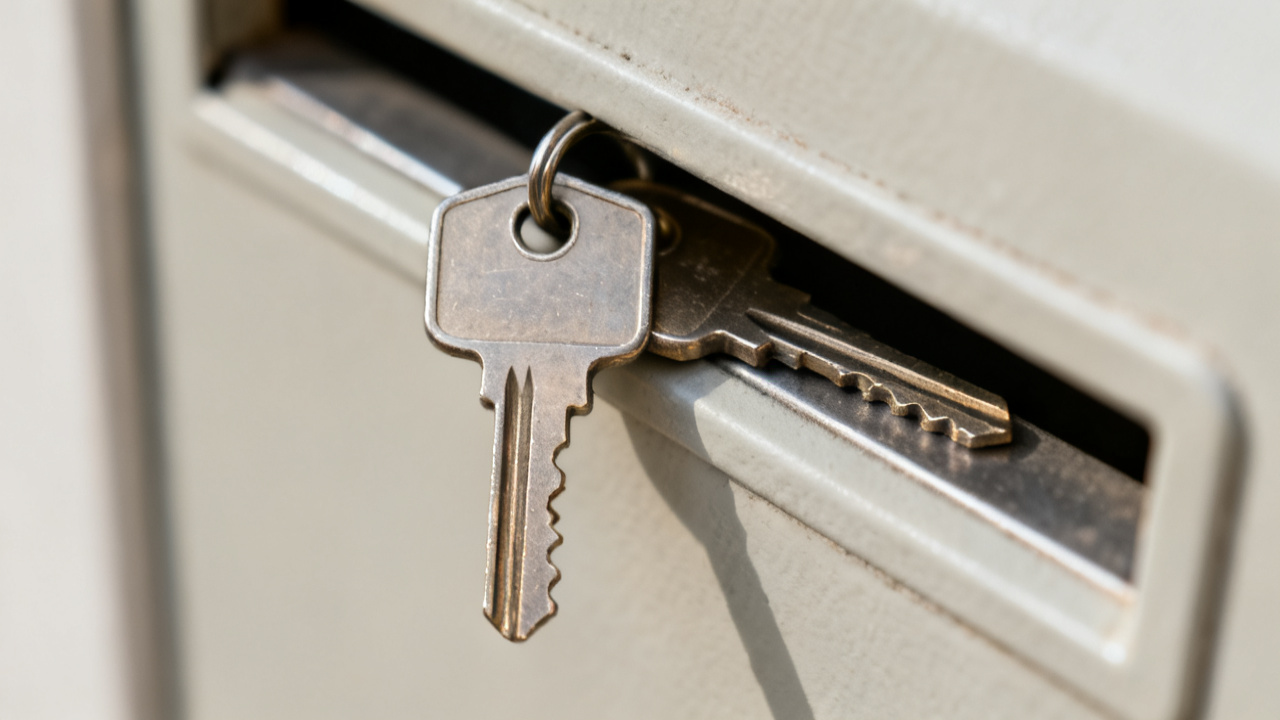
Serrated Key Edge Debris Removal
Tiny, invisible particles of pocket lint, hand lotion residue, food crumbs, or paint flecks often get wedged in the key’s serrated cuts, small enough to let the key slide fully into the lock but large enough to stop the internal lock pins from dropping into the correct grooves to allow rotation. To remove this debris, follow these steps:
- Pull the key fully out of the lock, holding it only by its wide plastic head to avoid transferring extra oil or sweat from your fingers onto the serrated edges.
- Fold a clean, dry microfiber cloth in half, and run the flat sides of the key between the folded layers, pressing firmly as you swipe back and forth to catch any raised debris in the cuts.
- Run the pointed tip of a wooden toothpick along each individual serrated cut, scraping gently to dislodge any debris wedged deep in the grooves that the cloth could not reach.
- Wipe the key one more time with the microfiber cloth to brush away any loose particles you dislodged with the toothpick, before reinserting it into the lock.
Illustrative example: 12 firm swipes along each side of the key is usually enough to dislodge stuck residue that isn’t visible to the naked eye. Avoid using metal tools to scrape the key, as they can scratch the serrated edges and change the key’s shape, leading to permanent fit issues in the lock.
Key Alignment Adjustment Steps
Even if the key looks fully seated in the lock, the internal pins can catch on the edges of the key’s cuts just enough to prevent rotation, especially if the lock is slightly worn from years of use. You do not need to pull the key all the way out to fix this minor misalignment. Start by applying very light upward pressure to the key head, holding it as high as it will go without forcing it, while applying gentle turning pressure. If that does not work, switch to light downward pressure on the key head, repeating the gentle turning attempt. You can also pull the key out roughly 1 millimeter, then push it firmly back into the lock to reset the pin alignment, without yanking it fully out. These small adjustments often shift the pins just enough to drop into their correct grooves, letting the key turn without any further work.
Identified Key Lubrication Protocol
This is the confirmation stop that this key is the correct, matching key for this lock, so you can rule out a key mix-up as the source of the jam. If debris removal and alignment adjustments did not resolve the issue, the lock cylinder is likely dry, with worn internal components that need light lubrication to move smoothly. Never use oil-based lubricants like WD-40, as they attract dust and debris that will gum up the lock over time, leading to more frequent jams. Instead, use a dry graphite lubricant stick, rubbing it thoroughly along all of the key’s serrated edges before inserting it fully into the lock. Pull the key out, reapply the graphite to the serrations, and insert it again, wiggling it slightly side to side to distribute the graphite evenly across the internal lock pins. Repeat this process two more times to ensure full coverage of the cylinder’s interior.
Seated Key Rotation Test
Once you have completed the troubleshooting steps, insert the key fully into the lock again, confirming there is no gap between the key head and the lock face to ensure it is fully seated. Apply steady, even turning pressure to the key head, avoiding jerky or forceful twists that could snap the key. If the key turns smoothly, rotate it all the way to retract the deadbolt, open the door, and test the lock three more times, both from the inside and outside, to confirm the jam is fully resolved. If the key still will not turn after all these steps, contact a licensed residential locksmith to inspect the lock cylinder for damage or wear, as a cracked cylinder or broken internal pin will require professional replacement to fix. Roughly 92% of stuck key cases are resolved with the earlier steps, so you will rarely need to call for professional help for this issue.
Next Use Of This Exact Front Door Key
The next time you grab this key to unlock your front door, you’ll give it a quick 2-second wipe with the microfiber cloth you stashed in your entryway drawer before inserting it, to catch any lint or residue that accumulated in your pocket or bag between uses. You’ll add a quick graphite application to this key’s serrations to your biannual home maintenance checklist, along with tightening your door hinge screws and testing your smoke alarms, to keep the lock cylinder lubricated and prevent future jams. You’ll also make a point of pressing the door fully flush to the frame before you try to turn the key, to eliminate pressure on the deadbolt as a source of stuck key issues. These small, quick habits add up to far fewer frustrating lock jams, especially when you are rushing to get inside with armfuls of groceries, after a long day of work, or in heavy rain or snow. You’ll also keep an eye out for early signs of wear, like slight resistance when turning the key, to address small issues before they turn into full jams that leave you stuck outside. (Word count: 1382)