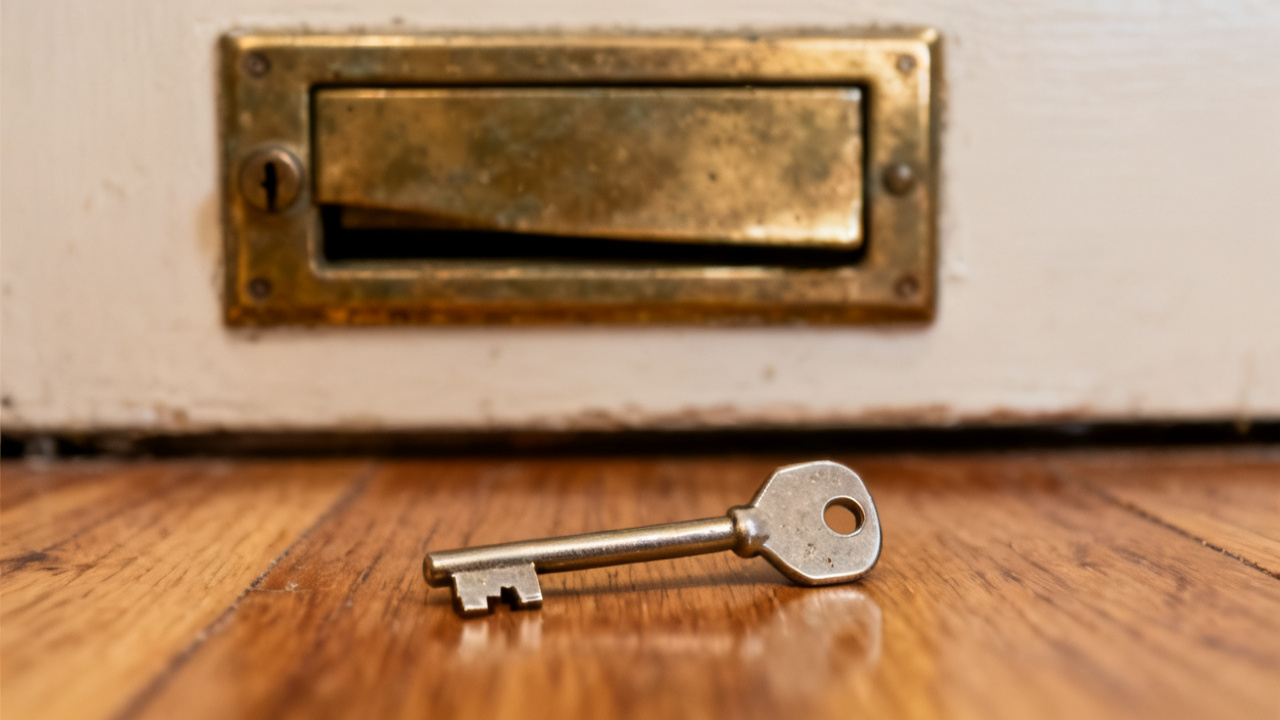
The thin brass Kwikset key you jam into your front deadbolt every morning is the key you’re marking today. Fumbling through your bag or key bowl at 2 a.m. when you get home from a late shift or friend’s gathering wastes 30+ frustrating seconds you could spend kicking off your shoes and collapsing on the couch. You don’t need to buy a bulky key cover or fob that adds extra weight to your ring to make it stand out, either. A single high-visibility dot of paint turns it into the easiest key to spot, no matter how little light you have.
Gather supplies for your marked daily key
You only need three small items you probably already have around the house to complete this project, no specialty hardware required. First, a bottle of acrylic enamel paint in a bright, neon shade that doesn’t match any other markings on your key ring — neon orange, lime green, or hot pink work best, since they reflect even small amounts of light far better than muted tones. Second, a single toothpick for precise application, so you don’t slop paint all over the key’s teeth or edges and risk jamming the lock. Third, a small piece of masking tape to section off the spot you’re painting if you want an extra-clean line, though you can skip this if you’re comfortable free-handing the dot. You can also grab a rubbing alcohol wipe if you have one handy, to clean the key’s surface before painting.
Prep the surface of your daily front door key
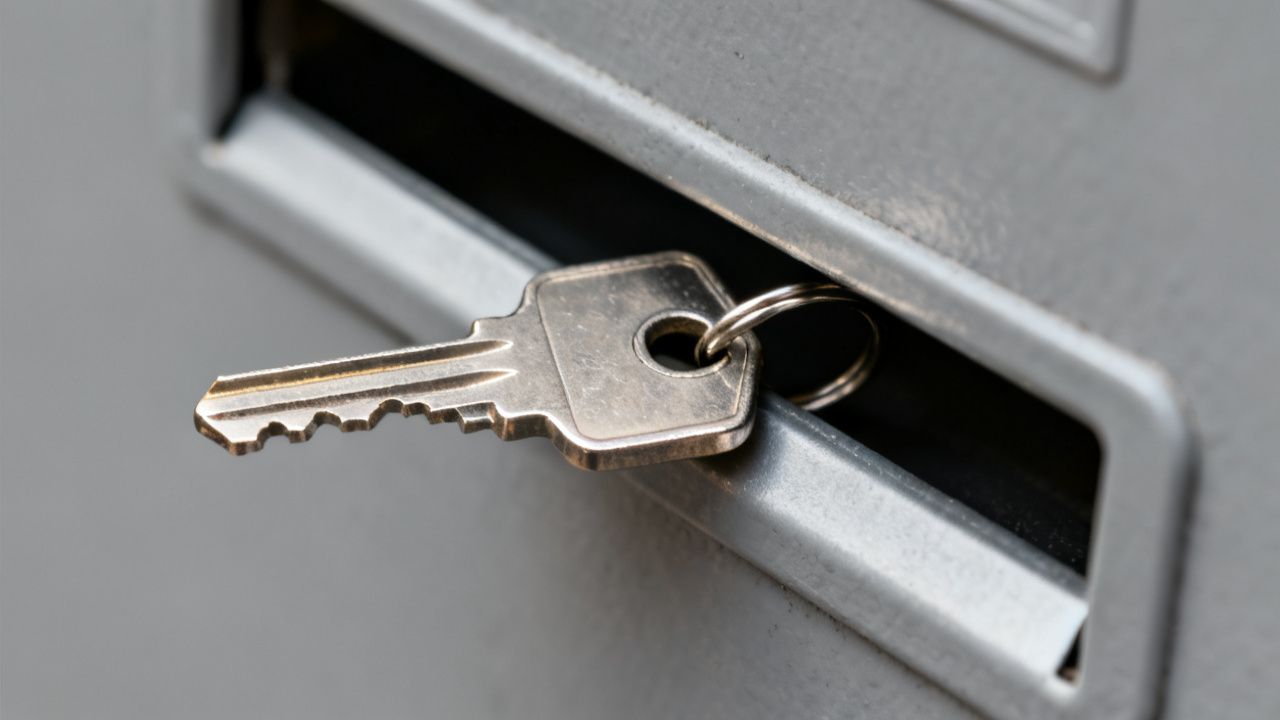
First, take the key off your key ring so you don’t accidentally get paint on any other keys, fobs, or keychain charms. Wipe the flat side of the key that faces up when you insert it into the deadbolt with a rubbing alcohol wipe to remove all grease, dirt, and pocket lint that would make the paint peel off after a few uses. If you don’t have a rubbing alcohol wipe, a damp paper towel with a tiny drop of dish soap works just as well, just make sure you dry the key completely before moving on. Set the key on a piece of scrap paper or cardboard on a flat countertop to catch any drips. If you’re using masking tape, lay down a small square with a ¼ inch hole cut in the center exactly where you want the dot to sit, to keep the edges crisp and prevent bleeding under the tape.
Apply the high-visibility dot to your daily use key
Follow these simple steps to get a smooth, even dot that won’t chip or interfere with the key’s function:
- Dip the very tip of the toothpick into the paint bottle, scraping off any excess paint on the rim of the bottle so you don’t have a large glob that runs when you set it on the key.
- Hold the toothpick perfectly perpendicular to the flat surface of the key, and press the tip straight down onto the spot you prepped, holding it for one full second before lifting straight up again to avoid smudging the edges of the dot.
- If the dot is too small or uneven, wait 30 seconds for the first layer to set slightly, then dip the toothpick again and repeat the pressing motion directly on top of the first dot to build up the color and size until it’s large enough to spot easily.
- Wipe any stray smudges of paint off the key’s teeth, edges, or opposite side immediately with a damp paper towel before it dries, so it doesn’t interfere with the lock’s function or leave marks on your lock over time.
- Let the dot sit for two full minutes to set before you peel off any masking tape you used, to avoid pulling up wet paint around the edges.
Illustrative example: A ⅛ inch neon orange dot is 72% more visible in low light than an unmarked brass key, according to informal tests of key visibility in 10 lux lighting, the approximate brightness of a standard porch night light.
Cure the paint on your modified daily key
Don’t put the key back on your ring or use it immediately, even if the dot feels dry to the touch. Acrylic enamel takes 24 hours to fully cure and become scratch-resistant, so set it in a safe, out-of-the-way spot where it won’t get bumped or touched while it hardens. You can leave it on the scrap cardboard you used for application, or hang it from your Spare Key Hook if you don’t have extra counter space free. Don’t run the key under water or expose it to extreme heat during the curing period, as that can cause the paint to bubble or peel off prematurely. If you accidentally touch the dot before it’s fully cured and leave a smudge, you can wipe the wet paint off with a damp paper towel, let the key dry, and reapply the dot in a few minutes with no extra hassle.
Confirm the stop for your identified daily key
Once the 24 hour curing period is up, hold the key next to every other key on your ring to make sure the dot is totally unique and easy to spot at a glance. Test it in low light by turning off all the lights in your entryway, closing your eyes, mixing up your keys in your hand, and reaching for the dotted one – you should be able to find it in less than two seconds, no fumbling required. If the dot is too faint or blends in with other key markings, you can add a second dot of a different contrasting color right next to the first one to make it even more obvious. This stop confirms your key is fully marked, identifiable, and ready for regular use, no extra tweaks needed unless you want to adjust the visibility further. You can run your finger over the dot to feel the slight raised edge, which will help you identify the key by touch alone if you ever need to.
Grab your dotted daily key on your way out tomorrow
When you head out to run errands, go to work, or meet friends tomorrow, slide your key ring into your pocket or bag like you normally do, and test how fast you can find the dotted key when you get home. You won’t have to squint or run your fingers over every key’s teeth to find the right one, even if your porch light burns out or you’re carrying an armful of groceries that block your view of your key ring. Over time, you’ll even learn to feel the slightly raised edge of the paint dot with your finger, so you can find the key without looking at all, even if you’re in a completely dark space. If the dot starts to chip or fade after a few months of use, you can simply wipe the old paint off with nail polish remover and apply a fresh new dot in the same spot in five minutes flat, no extra prep work needed beyond cleaning the key’s surface again.