The front door deadbolt of your ground-floor coastal apartment has sat exposed to salt air and daily rain spray for 18 months, its keyway crusted with fine, abrasive grit even when you wipe its face weekly. You already ran through every key on your daily key ring twice, jiggling each slightly as you inserted it to account for minor tooth wear, and none caught enough to turn even a fraction of an inch. The air is crisp, your windbreaker is still damp from your walk home from the bus stop, and you don’t want to call a locksmith for a $129 after-hours callout fee that will eat into your planned weekend camping trip budget. You remember the unlabeled brass spare your landlord dropped off three months ago, stashed in the inner pocket of your work bag between your laptop charger and a half-empty pack of peppermint gum. Your main keys have worn down slightly over 18 months of daily use, so their teeth are just a fraction of a millimeter too short to lift the pins past the shear line when there’s even a tiny bit of grit in the keyway, but the brand new spare has perfectly sharp, unworn teeth that can reach the pins even with minor buildup.
Deadbolt Grit Clearance for Your Unlabeled Brass Spare Key
Before you insert the spare, you first clear loose grit from the keyway to keep it from binding against the key’s teeth. You pull a dry cotton swab from your bag’s first-aid pouch, twist the tip to narrow it, and gently probe the keyway to lift loose grit particles without shoving them deeper into the lock’s internal pins. You blow a short, steady puff of air into the keyway to dislodge any remaining loose particles, taking care not to overblow and send grit into the pin stack that sits just behind the keyway opening. Illustrative example: 7/32 of an inch of the cotton swab tip will fit into the keyway without touching the pin stack, so you stop inserting it once that much of the tip is out of sight to avoid damaging the lock’s internal components. You discard the used swab and wipe the face of the deadbolt one more time with your sleeve to remove any dislodged grit that fell onto the metal faceplate.
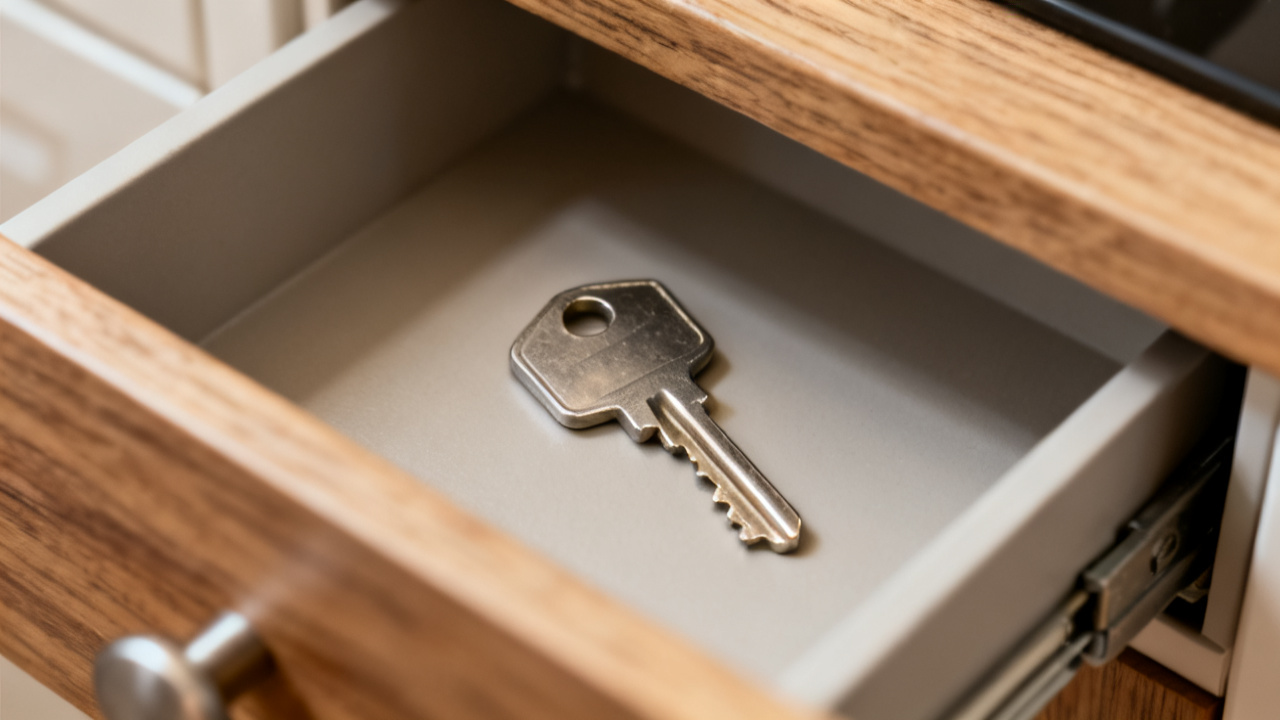
Brass Spare Key Alignment for Sticky Lock Mechanisms
Now you take the unlabeled brass spare out of your bag, wipe its teeth with the hem of your clean shirt to remove any lint or pocket dust, and follow these 4 steps to align it correctly with the lock’s pins:
- Hold the key perfectly level with the keyway, with the teeth facing downward to match the orientation of the lowest pin in the deadbolt stack.
- Insert the key slowly, pausing for half a second each time you feel a slight catch against a pin to let the pin rise to match the height of the key’s tooth.
- Once the key is fully inserted, apply light, steady pressure to the key head in the direction you turn it to unlock the door, rather than twisting hard or jiggling it aggressively.
- Wiggle the key upward 1 millimeter at a time if it does not catch on the first try, until you feel the pins drop into place and the cylinder gives way to turn smoothly.
Many people make the mistake of jiggling the key aggressively when it doesn’t turn, but that can bend the key teeth or break the internal pins, leading to a far more expensive repair than a quick lubrication job. The slow, steady insertion method works because it gives each pin time to rise to the exact height of the corresponding key tooth, rather than bouncing off the tooth and getting stuck in a partially lifted position. The key turns on the second try, and you push the door open, sighing in relief as you step into your warm, dry apartment. You set the spare key on your entryway table while you take off your damp shoes and make a cup of hot tea to warm up, and you make a mental note to label it so you don’t have to fumble through your bag for it again if this happens.
Permanent Enamel Marking for Your Frequently Used Spare Key
After you finish your tea, you grab a bottle of white enamel nail polish from your bathroom cabinet and a small roll of painter’s tape to mark the spare key clearly so it stands out on any key ring. You considered using a sticker to mark the key, but stickers peel off quickly when exposed to pocket lint and temperature changes, so enamel polish is far more durable and won’t leave sticky residue on the rest of your keys. You wrap a thin strip of painter’s tape around the top edge of the key head to create a clean line, then paint a thick, solid white dot on the flat face of the key head that faces outward when you insert it into the deadbolt. You let the first coat dry for 10 minutes, then add a second coat to make the mark visible even in low porch light, and peel off the painter’s tape to reveal a crisp, even edge around the dot. You also add a tiny red stripe on the opposite side of the key head to indicate which direction to insert it, so you don’t have to flip it back and forth in the dark to get the orientation right. You test the key in the lock again to make sure no polish got on the teeth that would cause it to bind, and it turns smoothly with no resistance. You hang the key on the Spare Key Hook next to your kitchen door, where you can grab it quickly if you leave your daily key ring at work or lock it inside the apartment by mistake.
Morning Lock Lubrication With Your Marked Spare Key
The next morning, you grab the marked spare key before you leave for work to lubricate the deadbolt and prevent the grit buildup from happening again. You spray a tiny amount of graphite lubricant into the keyway, then insert the spare key and turn it back and forth three times to spread the lubricant evenly across all the internal pins and the cylinder walls. You wipe any excess graphite off the key teeth with a paper towel, then test your daily key ring’s main door key to make sure it turns smoothly now too, which it does, no sticking or catching at all. You tuck the spare key into the outer pocket of your work bag now that it’s clearly marked, so you can reach for it first if you ever run into a stuck lock again, instead of wasting time trying every key on your main ring first. You also make a point to lubricate the lock every three months using the marked spare as your test key, so you catch any grit buildup before it gets bad enough to stop your main keys from turning. Over the next few months, you use the marked spare to let your dog walker in when you’re running late, to give to a friend who is crashing at your place while you’re out of town, and to unlock the door when your hands are full of groceries and you don’t want to fumble through your whole key ring. The white enamel mark never chips or fades, even with regular use, and you never have to guess which key works for your front door again, even when the porch light is out or you’re tired after a long day at work. You’ve already recommended this marking method to three of your neighbors who have the same deadbolt model and have complained about stuck keys on rainy days, and all of them say it’s cut down on their fumbling time at the door significantly.