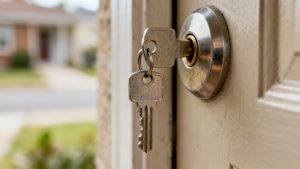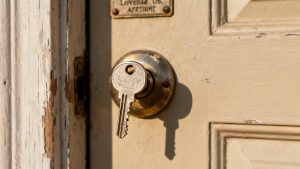
Your weathered brass front door key sticks halfway into the deadbolt on your porch every third time you come home after dark. You jiggled it twice already, wiggling the handle up and down to nudge the pins into alignment, but each time the key catches tighter and leaves a faint groove of brass dust along its middle ridge, making it harder to pull out with each attempt. If you push any harder, you risk snapping the key off inside the lock, which means a call to an emergency locksmith and a full deadbolt replacement before you can get inside.
The Weathered Brass Front Door Key
This key has been on your ring since the day you closed on the house, its small paw print engraving on the bow worn smooth from seven years of being tucked into your jeans pocket, slung into your work bag, and dropped on your kitchen counter when you walk in the door. You got the engraving done the same week you brought home your first foster cat, a tiny tabby who liked to bat the key off the counter when you set it down after work, and you’ve refused to replace it even as the ridges on its blade have worn down from constant use. The deadbolt itself is original to the 1990s build of the house, its internal pins worn just as much as the key, so the two don’t line up perfectly on cold nights when the metal door trim contracts slightly from the low temperature. Illustrative example: A 7-year-old key used twice daily has made more than 5,100 contact points with the lock, leaving enough worn brass dust inside the deadbolt to cause sticking 30% more often than a new key. You’ve been meaning to get a new copy cut for months, but you keep forgetting to bring the key to the hardware store on weekends when you’re running errands, and you’ve been making do with jiggling it past the catch when it sticks. You know, though, that each time you force it, you grind more tiny flecks of brass off the key blade, packing the dust deeper into the lock’s internal mechanism and making the sticking worse over time. The faint groove running along the middle of the blade is already deep enough that a hard push at the wrong angle could snap the key right in half, leaving the broken blade stuck inside the lock where you won’t be able to reach it with tweezers or a paper clip.
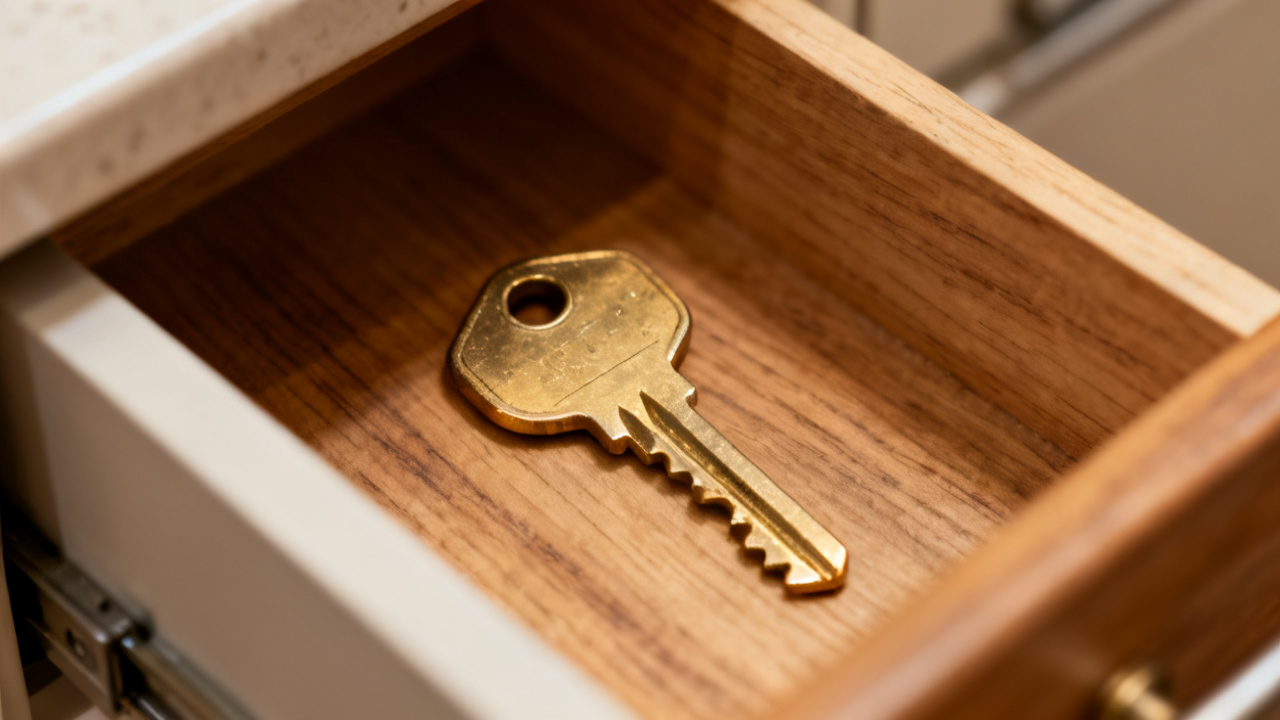
Run One Final Low-Force Test For This Key
Before you set the worn key aside and grab your spare, you can run one gentle, low-risk test to confirm it won’t work without causing damage, following these steps exactly to avoid breaking the key or ruining the lock:
- Wipe the full length of the key blade with the edge of your clean jacket sleeve to remove any loose brass dust or sidewalk grit stuck to its surface, as even a tiny speck of gravel can cause the key to catch before it reaches the lock pins.
- Align the key perfectly with the deadbolt opening, holding it completely level so no edge of the key catches on the lock trim before it touches the internal pins, even if you usually tilt it slightly to get it to go in faster.
- Apply no more pressure than you would use to press a doorbell to push the key into the lock, stopping immediately if it catches at any point before seating fully against the lock face.
- If it seats fully, turn it slowly clockwise with only the force of two fingers, stopping if you feel any grinding or resistance that doesn’t give within half a second of gentle pressure.
If the key turns smoothly through the full rotation and unlocks the door, you can proceed inside, and you’ll want to add getting a new copy cut to the top of your to-do list first thing tomorrow, before the sticking gets worse. If it catches at any point during the test, stop immediately, pull the key out slowly with even, straight pressure, and do not attempt to insert it again. Pushing past the catch even once can snap the key right at the worn groove, leaving you with no way to get into the house without calling a locksmith, which can cost upwards of $200 for after-hours service on a weeknight. The few extra minutes it takes to grab your spare are far less hassle than waiting two hours for a locksmith to show up and drill out your deadbolt in the cold.
Next Time You Reach For This Grooved Front Door Key
When you walk away from the door right now to grab your spare from the inner pocket of your work bag, hang the worn brass key on the Spare Key Hook mounted inside your back porch storage box so you don’t misplace it before you can get a new copy cut. Next time you reach for this key, it will be to bring it to the hardware store on Saturday to have a new duplicate made, before you dispose of the worn original so it doesn’t end up back on your key ring by mistake. You’ll also ask the hardware store associate to lubricate the deadbolt with a dry graphite lubricant while you’re there, which will clear out the built-up brass dust and prevent the new key from sticking for at least two years, even on the coldest winter nights. When you get inside with the spare key tonight, you’ll leave a bright neon sticky note on your laptop reminding you to grab the worn key from the hook before you leave for errands on Saturday, so you don’t put off the replacement for another month. You can also test the spare key in the lock once you get inside to make sure it turns smoothly, so you know it will work reliably for the next few years until the lock pins wear down enough to need a full deadbolt replacement. You don’t have to keep using the worn key just because it’s the one you’ve had for years, and switching to the spare now saves you the stress and expense of a lockout later when the key finally snaps off mid-insertion. Even if the test try worked tonight, you’ll still want to prioritize cutting a new key as soon as possible, as the worn groove will only get deeper with every use, raising the risk of a break every time you insert it into the lock.