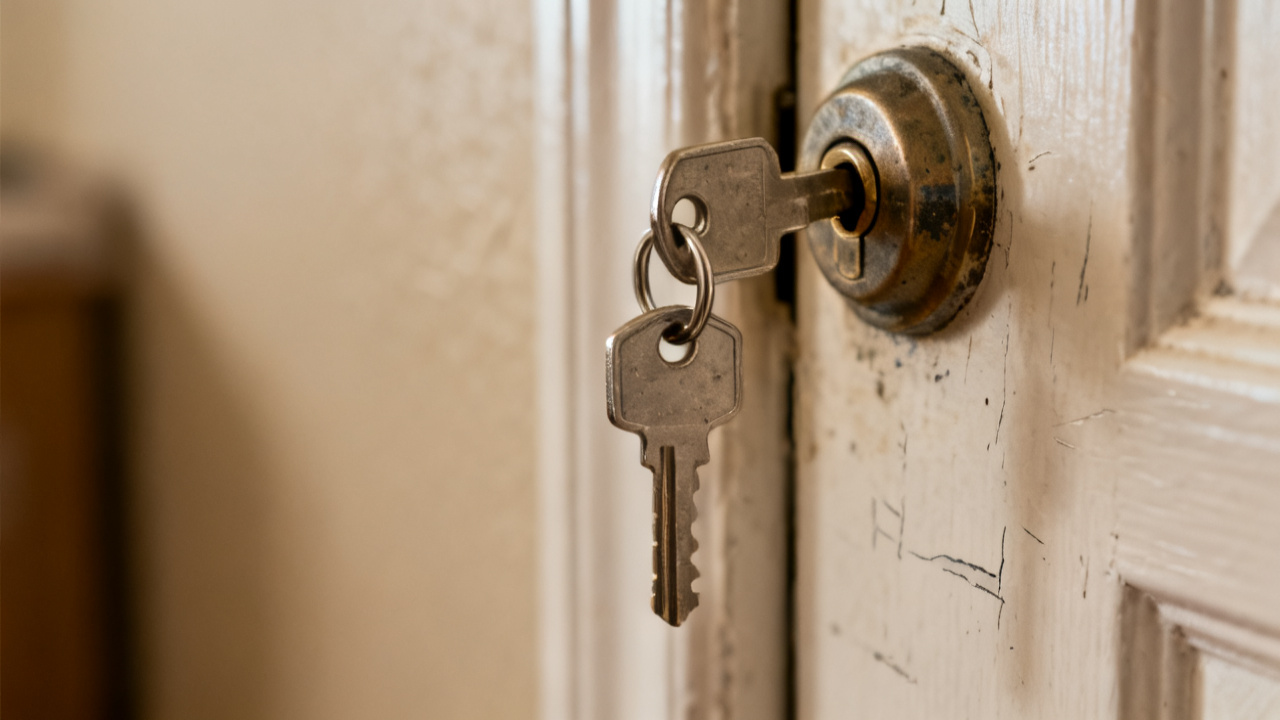
Your three small silver flat keys and single brass front door key all sit jumbled on a split plastic key ring you dug out of your junk drawer 10 minutes ago. You’ve been meaning to consolidate these for three weeks, ever since you fumbled through three separate key rings in the rain to get your front door open while your takeout order leaked soy sauce down your wrist. You have 20 minutes free before your favorite show starts, so you can get this sorted before you settle in for the night. No fancy tools are required, just the small pair of tweezers you keep in your desk drawer and a fine-tip permanent marker.
Trim Excess Bulk From This Combined Key Ring
Start by removing every extra item that doesn’t serve a regular purpose on the ring. Toss the chipped coffee shop loyalty tag you haven’t scanned in two years, the broken plastic bottle opener that won’t even pry off a soda cap, and the random beaded keychain you got at a music festival three summers ago that only tangles with your keys every time you pull them out of your pocket. Too much extra bulk on a key ring does more than just make it heavy: it makes it harder to locate the exact key you need in a hurry, can scratch the screen of your phone if you toss both in the same pocket, and puts unnecessary long-term strain on lock cylinders when you twist a heavy ring dangling from the key. Illustrative example: A key ring with 7 extra dangling accessories takes 12 seconds longer to navigate on average than a trimmed, minimal ring, which adds up to nearly 3 full hours of lost fumbling time over 10 years. Once you’ve stripped off all the excess, you’re left with just the four keys on the ring, easy to turn and easy to sort through.
Test Fit Each Key For Its Matching Lock
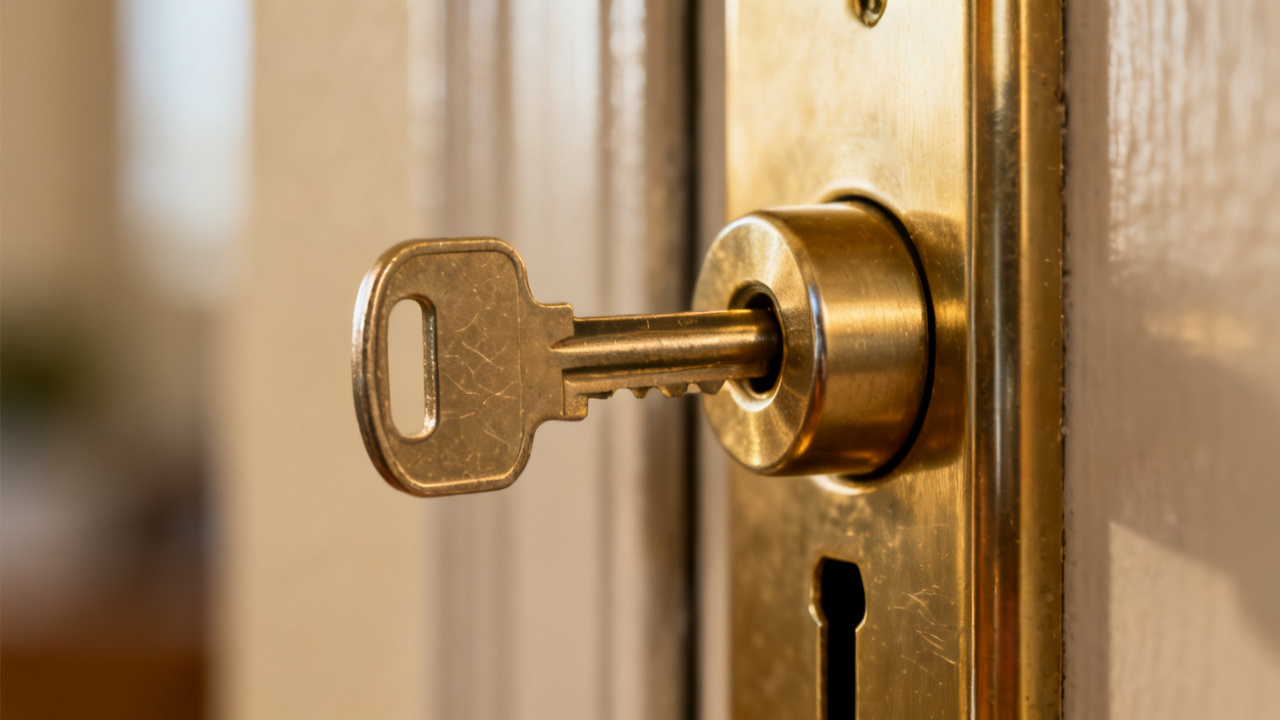
Before you mark any of the keys, take two minutes to confirm each one lines up with the lock it’s meant for, to avoid labeling a key incorrectly and having to redo the work later. First, take the thick brass key and test it in both your front door deadbolt and the doorknob lock, twisting it fully to lock and unlock each one to make sure it turns smoothly with no wiggling required. Next, slip on your shoes and step out to your curbside mailbox, testing the thinnest silver key in the mailbox lock to confirm the latch pops open easily when you twist it. Then, walk to your porch where your bike is parked, and test the two remaining silver keys: one should open the heavy U-lock you use to secure the frame to the porch railing, and the other should open the small storage lock under your bike seat where you keep your tire repair kit and bike light. If any key sticks when you turn it, rub a tiny bit of powdered graphite on the key teeth to lubricate it; this fixes 90% of minor sticking issues without requiring a trip to the hardware store for a new key cut.
Label Your Consolidated Key Ring For Fast Recognition
This marking system lets you identify every key by touch alone if you’re fumbling in the dark, or by a quick glance if you’re in a hurry. You don’t have to squint at the tiny, worn engraving on the key teeth, or test three wrong keys before you find the right one for your mailbox when it’s pouring rain. Use the following guide to mark each key clearly without damaging the functional parts of the metal:
| Key Type | Marking Location | Identifying Mark |
|---|---|---|
| Brass front door key | Flat top head of the key | Small solid blue dot |
| Silver curbside mailbox key | Left side edge of the key head | Tiny handwritten “M” in black marker |
| Silver bike U-lock key | Right side edge of the key head | Thin horizontal red line |
| Silver bike under-seat storage key | Flat back of the key head | Tiny handwritten “B” in black marker |
If you don’t want to use permanent marker, you can use small dabs of colored nail polish for the marks, which holds up better to wear and tear from being tossed in pockets and bags. Just make sure you don’t get any marker or nail polish on the grooved teeth of the key, as that can gunk up the lock cylinder and cause sticking over time. Let the marks dry for two full minutes before you touch them, to avoid smudging the ink or polish.
Store This Key Ring In A Consistent High-Traffic Spot
Now that your key ring is trimmed, tested, and labeled, keep it in the same spot every time you’re home, so you never have to hunt for it when you’re heading out. You can hang it on the Spare Key Hook mounted right next to your front door, so it’s the first thing you grab when you put on your shoes to leave, and the first thing you hang up when you step back inside. If you prefer to carry it in your bag, assign it to a small dedicated pocket in your purse or work bag, so you don’t have to dump out all your contents to find it when you get home from the grocery store. Avoid leaving it on random kitchen counters, coffee tables, or your bathroom sink, as those are the spots where keys most often get lost under piles of mail, books, or skincare products. If you ever need to leave a copy for a housesitter or a friend, you can make a duplicate of this entire set and mark the duplicates the same way, so they can navigate the locks just as easily as you do.
Next Time You Reach For This Combined Key Ring
The first time you grab this key ring on your way out for a morning bike ride, you’ll notice the difference immediately. You won’t have to dig through three separate key rings to find your bike key, you’ll just run your finger along the edge of the keys until you feel the thin red line, pull it out, and unlock your U-lock in half a second. When you get back from your ride, you’ll spot the blue dot on the brass key right away, and unlock your front door without fumbling while you carry your water bottle and helmet. If you see the mail truck pulling up as you’re watering your front lawn, you’ll be able to grab the key with the tiny M engraved on the edge from your pocket before you even walk to the mailbox, no stopping to sort through a jumble of metal. You’ll also notice the lack of extra jangling when you walk up the stairs to your apartment, and the absence of a heavy bulge pulling down the side of your jeans pocket when you go for a walk. Over the next few weeks, you’ll save minutes of fumbling time that you used to waste sorting through separate key rings, time you can spend on things you actually enjoy, like making coffee, reading your favorite book, or going for longer bike rides. If you ever add a new lock to your set, like a storage unit key or a key for your office front door, you can add it to this same ring and mark it with a new color or symbol, so it fits right into the system you built tonight. You’ll never have to deal with the frustration of fumbling through multiple key rings in the rain again, all because you took 20 minutes to sort your keys tonight.